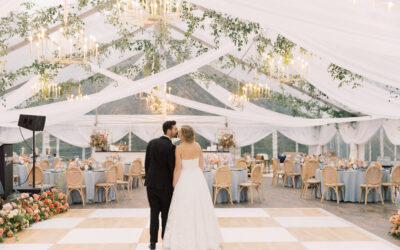
Planning the layout of a wedding tent requires attention to both the beauty and function of the area. These tips will help you create a space that flows effortlessly, is comfortable for guests, and perfectly suits each part of your celebration.
1. Choosing the Right Tent Size for Your Needs
The tent size is the backbone of your setup. To determine the best size, first estimate how many guests you’ll be hosting and the type of atmosphere you want to create. A tent that’s too large can feel impersonal, while one that’s too small may leave guests uncomfortable. Think about the different areas you’ll need, including ceremony seating, cocktail space, dining, dancing, food service, bar area, and any special features like a dessert station or photo booth. Our sales team at Collective Event Group will help you visualize the ideal layout for your guest count and event needs.
For sample tent layouts for wedding receptions, cocktail parties, ceremonies, and more – Visit our Tent Layout Planner and view dozens of tent layout samples, sorted by guest count, event style, and tent selection!
2. Ceremony Tent Layout: Ensure a Clear Aisleway
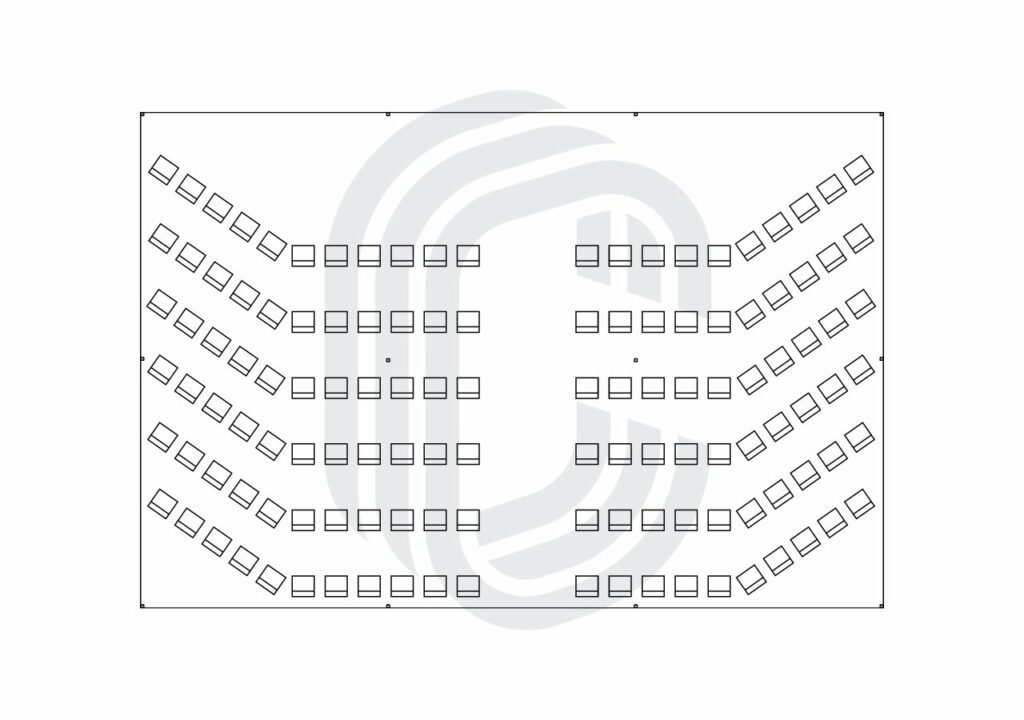
If you plan to house your ceremony under a tent, prioritize a spacious, clear aisleway and open area for the alter and wedding party to stand. The aisle and ceremony alter areas are the focal points, allowing the wedding party to make their entrance smoothly and giving photographers an unobstructed view of these beautiful moments.
You might choose to line the aisle with flowers, lanterns, or greenery to create a romantic path, but make sure decorations don’t impede movement. For added comfort, arrange guest chairs in a semi-circle or angled rows to give everyone a perfect view of the ceremony.
Remember, Collective Event Group will design a to-scale CAD for your tent, ensuring the perfect sizing for your needs!
3. Cocktail Hour Layout: Supplemental Space
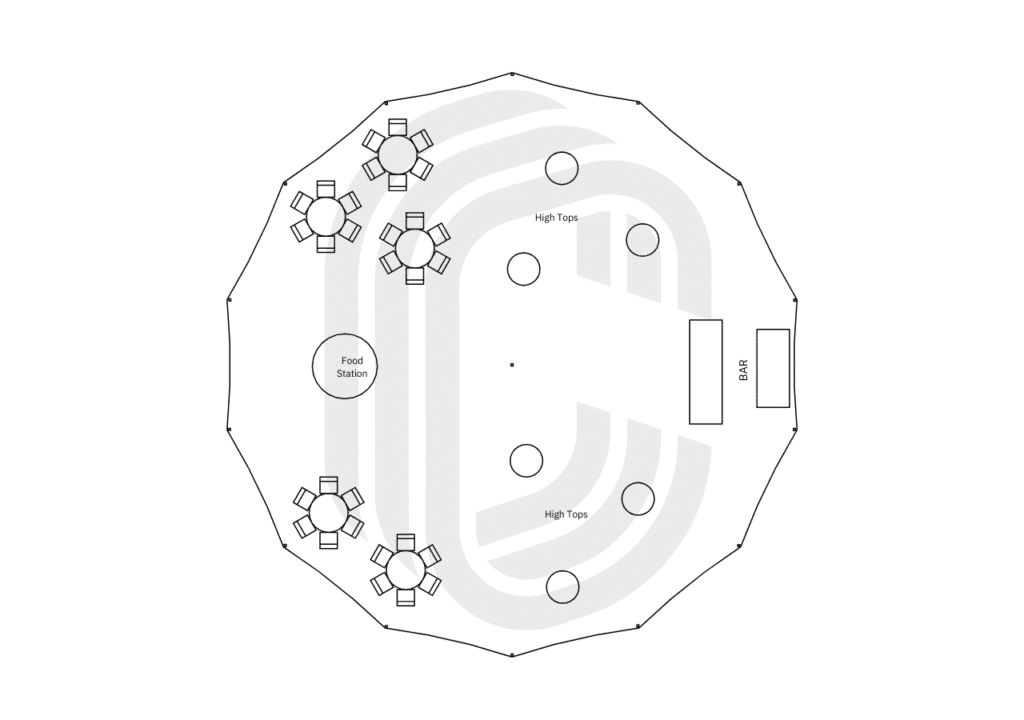
Set up a separate area for cocktail hour to give guests a place to gather and mingle while the main reception area is being prepared. The majority of the time, cocktail hour is separate, yet adjacent to the main reception tent; this space can be outdoors open-air or underneath a tent for shade or weather protection. A cozy lounge seating area or high-top tables can make this area inviting. Adding overhead lighting, an outdoor seating area, or a small bar here helps create a smooth transition between the ceremony and the main event. This also keeps guests entertained and gives them a chance to socialize without crowding the dining area too soon.
4. Reception Tent Layout: Choosing the Right Table Arrangement
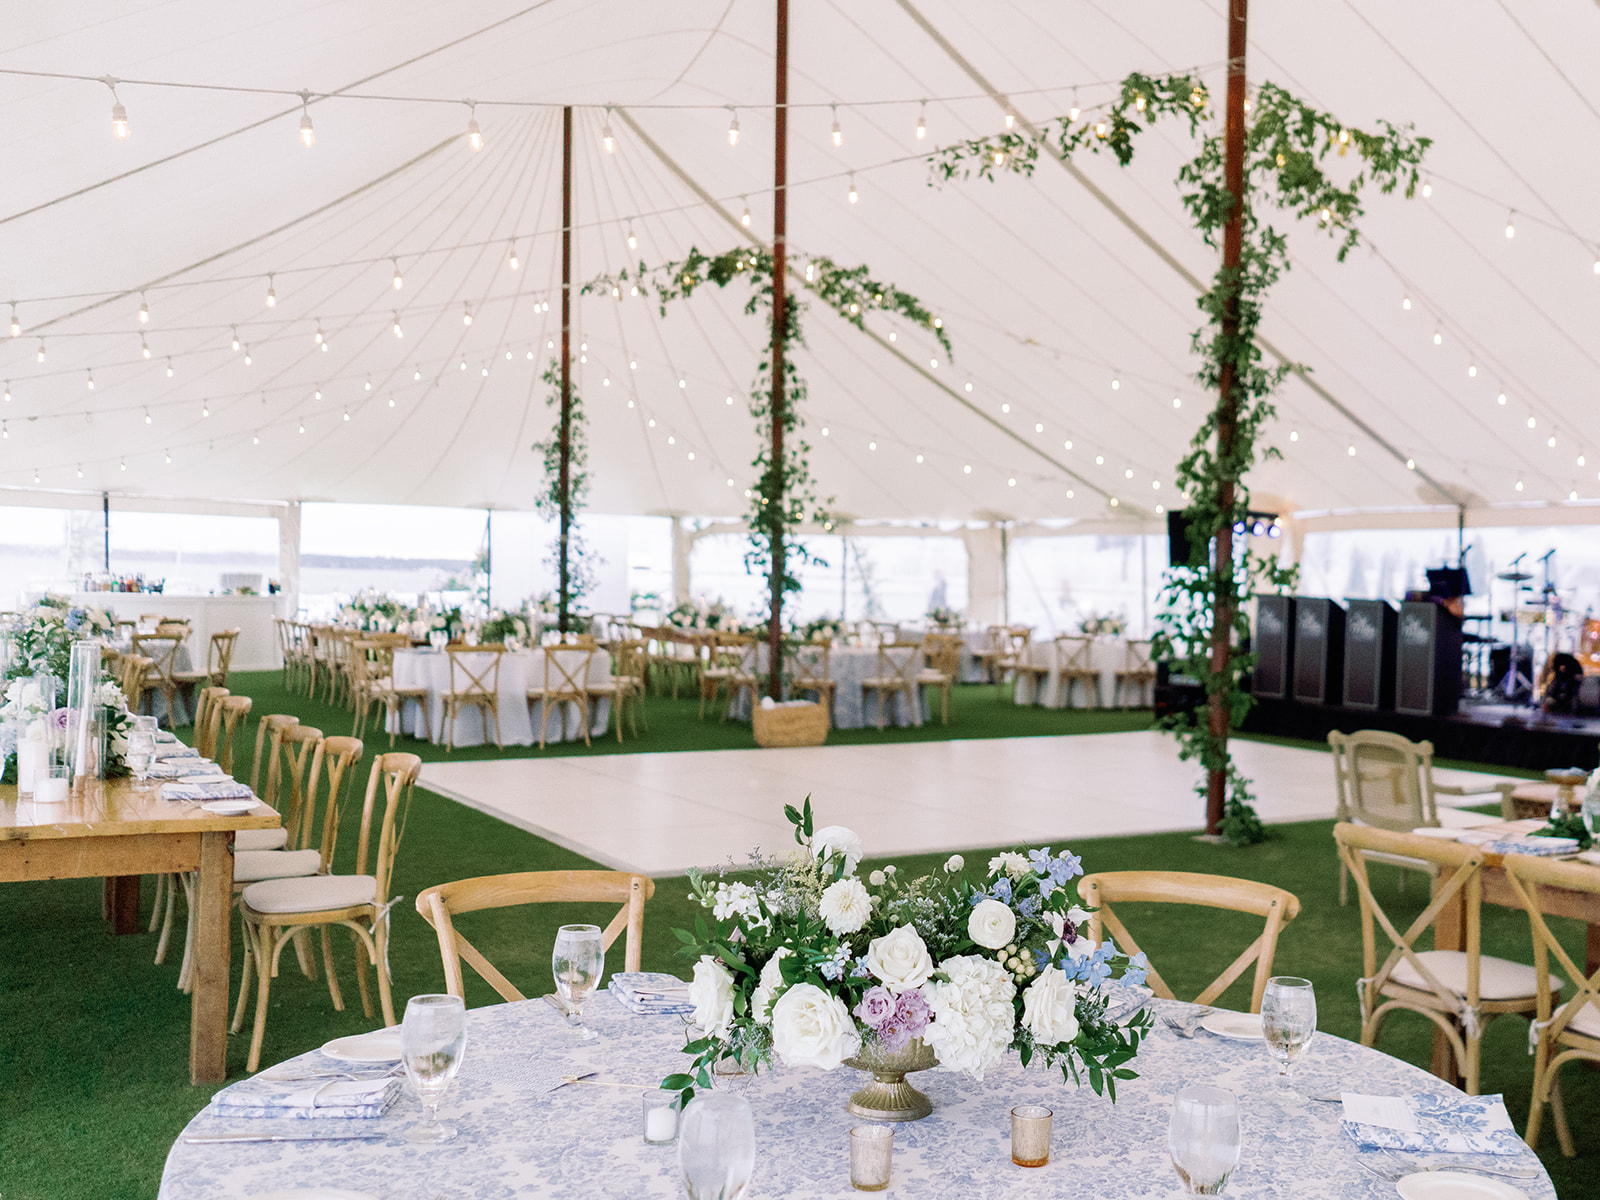
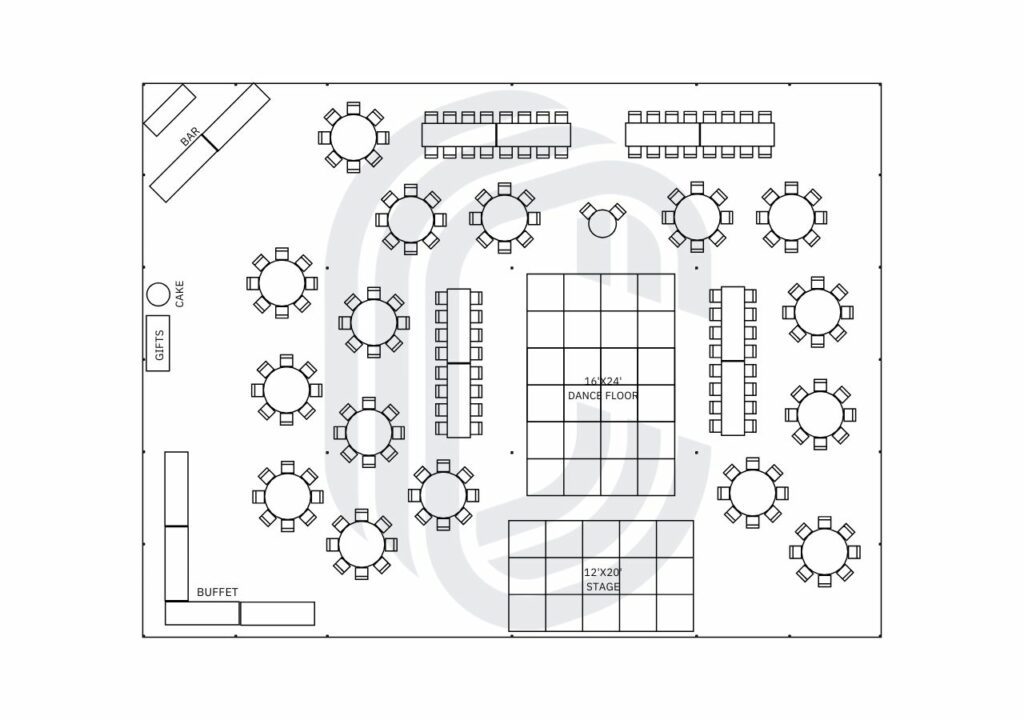
The table setup plays a big role in guest interaction. For a classic feel, round tables encourage conversation in smaller groups, while long banquet tables can bring a sense of togetherness and great for family style service. Consider spacing carefully so that guests can move comfortably, especially around the head table, sweet heart table, or family tables.
Pro Tip: Mixing table shapes and sizes allows a unique look and allows you to add additional décor elements and texture to your overall wedding look. Think low centerpieces down the banquet tables and taller floral centerpieces on the round tables to add dimension to the space.
For ideas on different table arrangements, check out our blog on Table Arrangement Options for your Wedding!
5. Wedding Reception: Designing Your Dance Floor
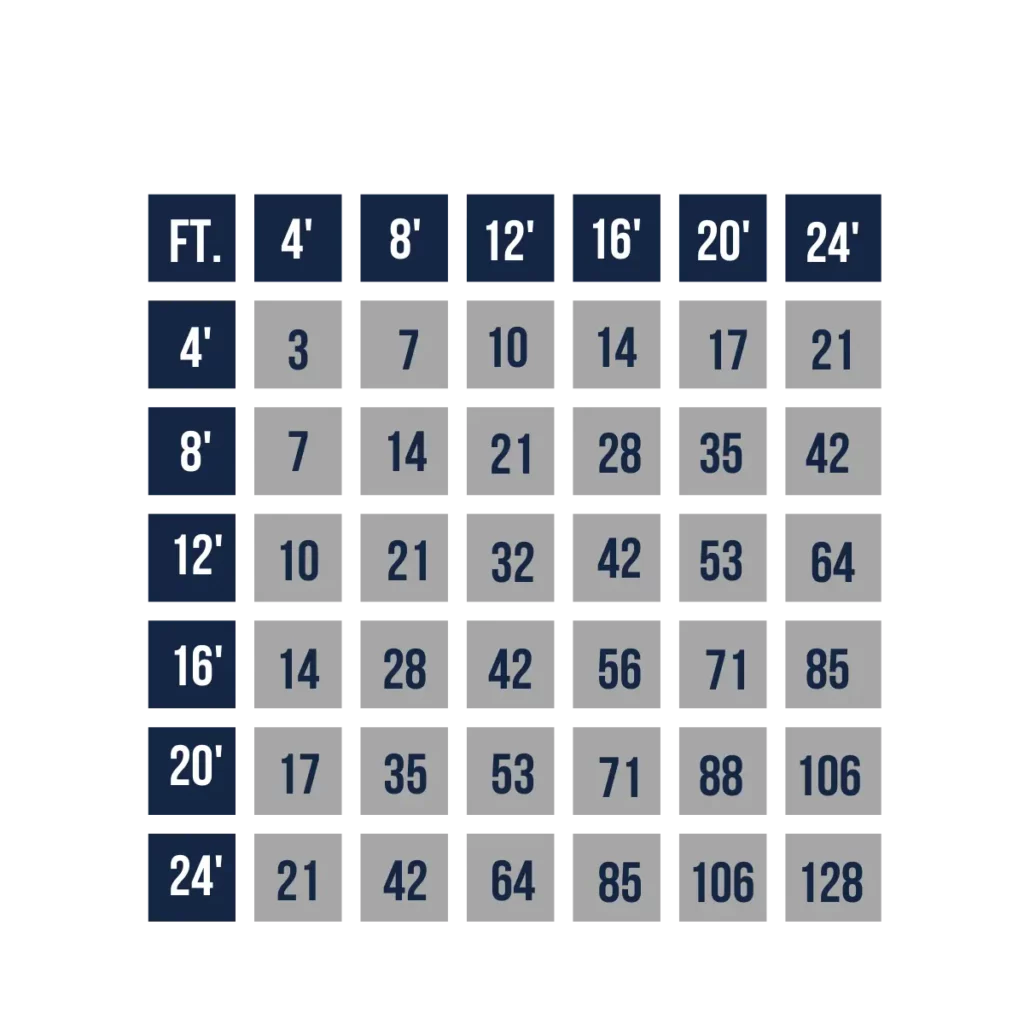
The dance floor should be the centerpiece of the reception area. Position it where it’s easily accessible and visible from all parts of the tent. This keeps energy high and draws guests in to dance. If you expect a large turnout, consider adding extra square footage to accommodate more guests. You can also highlight the dance floor with a unique flooring material, lighting accents, or surrounding it with seating to create a social, inviting vibe.
Our Blog on “How Big Should Your Dance Floor Be?” covers all of the important details on dance floor sizing and placement. We even created a chart to calculate the best dance floor size, based on your guest count!!
6. Optimizing Reception Space to guarantee flow
Make the best use of your tent layout by organizing functional areas— dining tables, dance floors, and bars—so they work together effortlessly. Think about where guests will naturally gather; near the bar or dessert station, and avoid placing these areas in tight spots that cause congestion. Allow ample walking space for servers and guests, particularly around key points like entrances, exits, and restrooms.
7. Planning Ahead for Additional Space Requirements
Consider any special features you plan to incorporate, like a photo booth, lounge seating area, or buffet station, when deciding on your tent’s layout and size. Having a dedicated space for each element of the reception prevents crowding and lets guests enjoy each feature without feeling rushed.
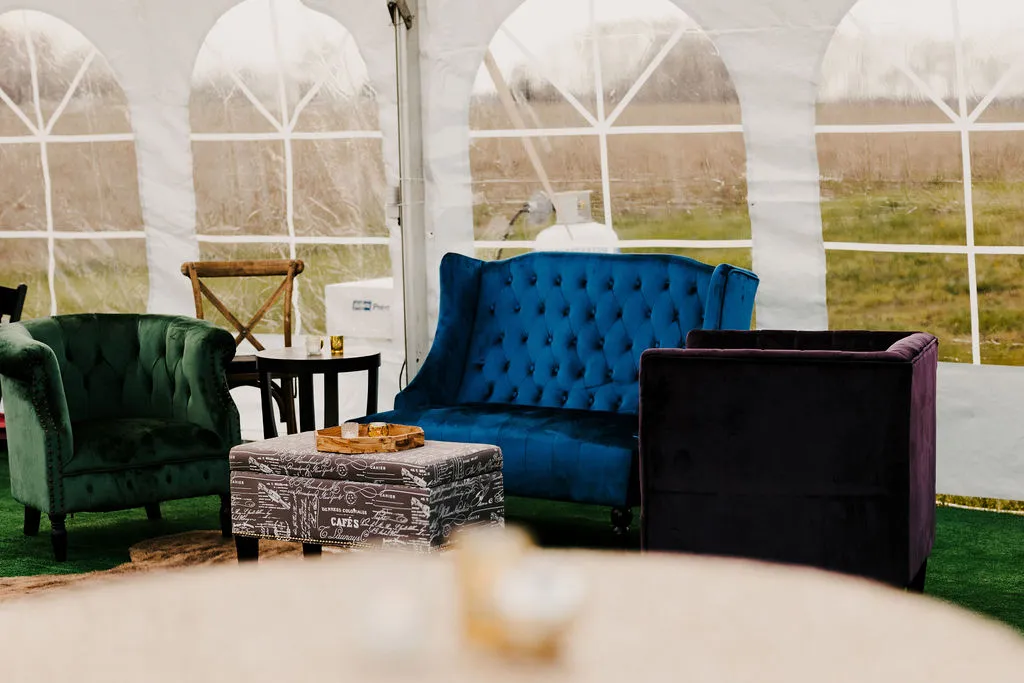
Keep weather and comfort in mind as well—designating areas with heating or cooling solutions can assure everyone stays comfortable, no matter the conditions. Additionally, speak to your Collective Event Group sales representative about your “Rain Plan”. If you are planning outdoor elements for your special day, such as open-air ceremony or cocktail hour, you should prepare for, and have in place an alternative plan to protect your guests from the weather.
8. Final Touches to Make Your Wedding Memorable
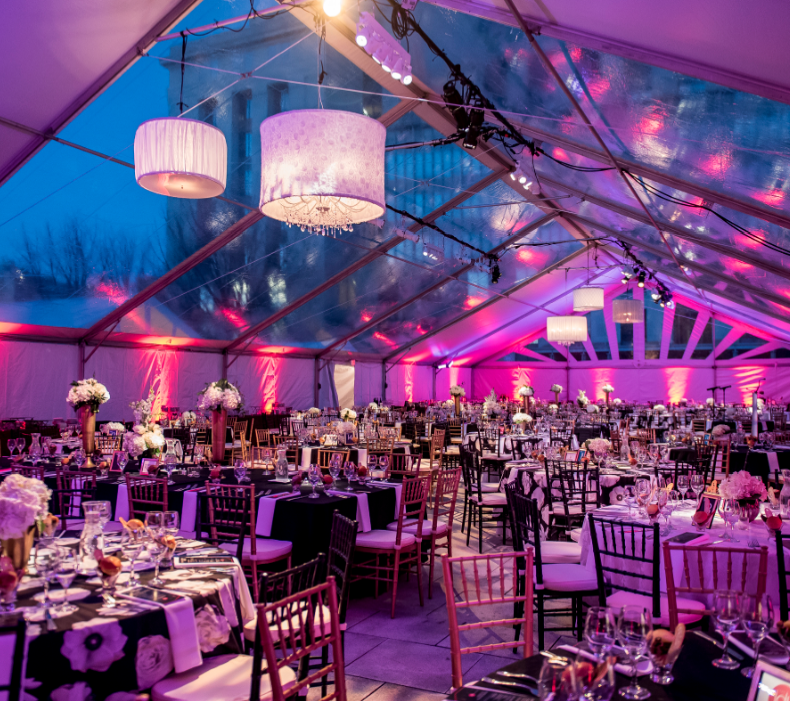
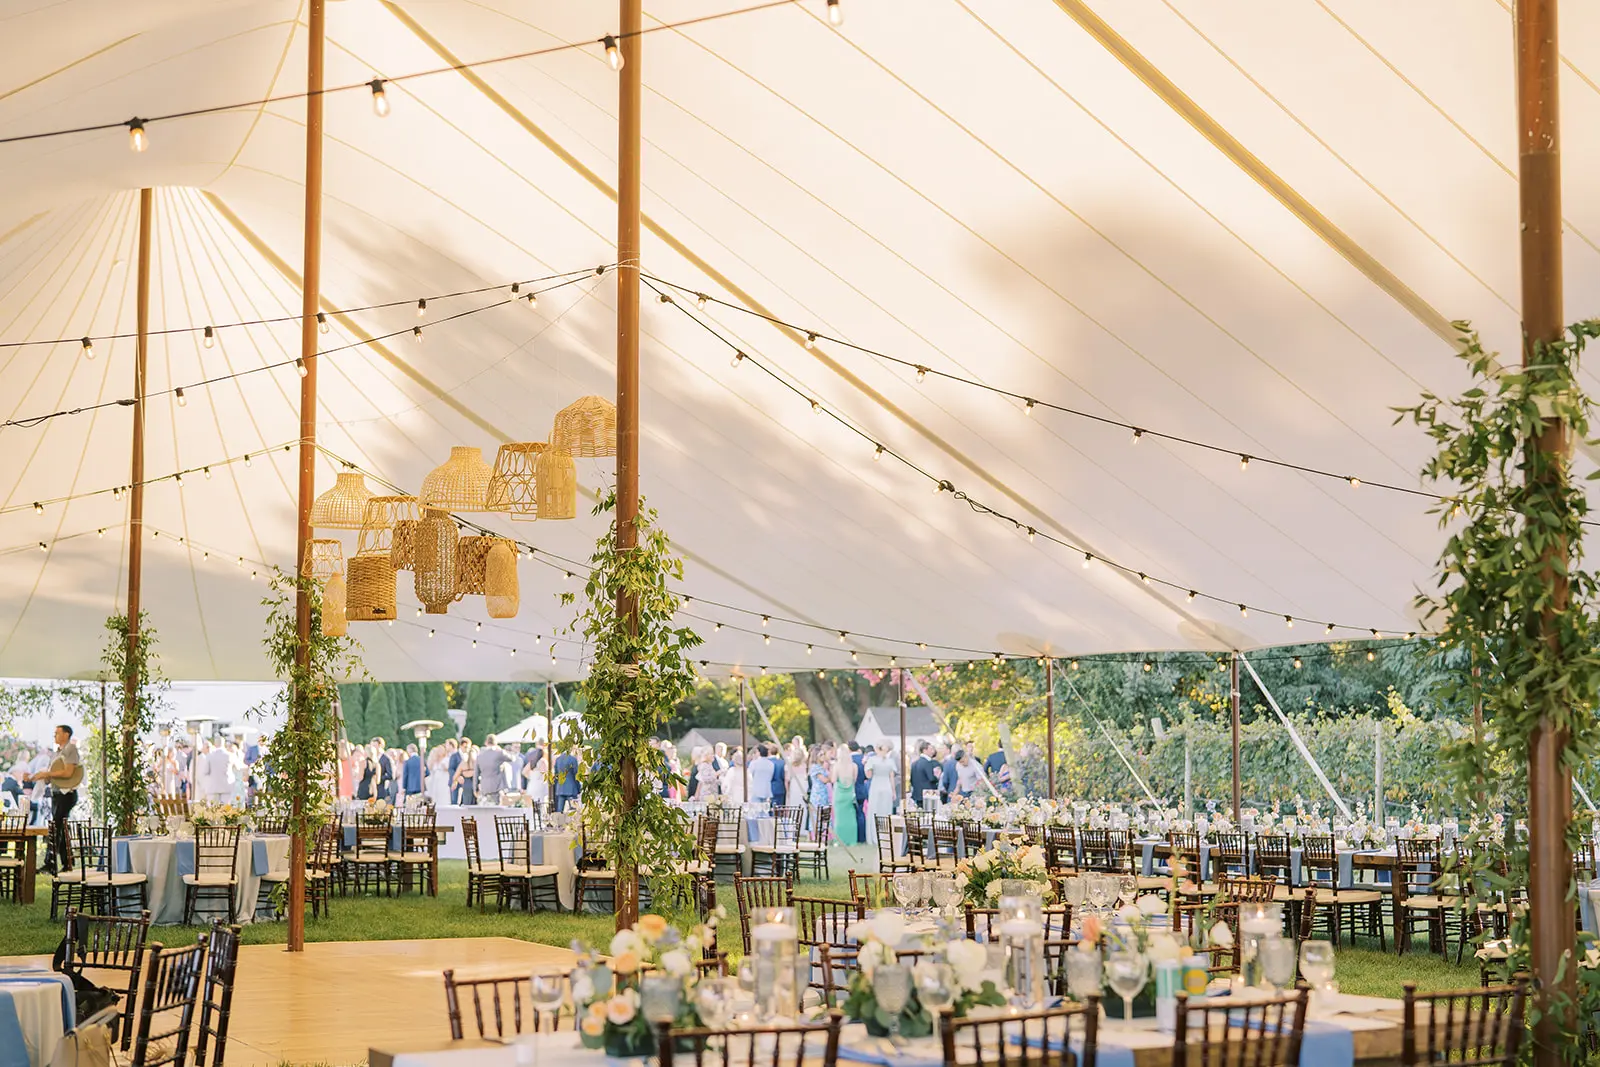
Finally, bring your tent to life with personalized touches that reflect your unique style. String lights, chandeliers, floral arrangements, and draping can all transform the tent into an unforgettable space. Accentuate focal points with customized décor, whether it’s a floral arch at the entrance or a personalized backdrop behind the head table. Small touches like scented candles, a guest welcome sign, or custom table settings can make a lasting impression on your guests and make certain the space feels cohesive and memorable.
With careful planning, your tent layout can set the perfect tone for each part of your celebration, ensuring that the day is as beautiful as it is functional.
